Trail Camera Basics for Backyard Forest Wildlife
A practical beginner's guide to siting, setting and checking a trail camera in your local woods, and to watching forest wildlife without disturbing it.
Trail Camera Basics for Backyard Forest Wildlife
The first time a camera catches something you had no idea was living behind the house, the woods change. A badger shuffling past at two in the morning, a fox with wet feet, a roe deer stepping carefully through the bracken — none of it is rare, exactly. You simply never had a reason to know it was there.
A trail camera is a patient tool: a small box strapped to a trunk that waits, watches and records while nobody is around. Placing one well takes an afternoon and very little equipment. Placing one badly — pointed at swaying grass, tilted into the sunrise, mounted too high — fills a memory card with nothing at all. These are the basics that separate the two.
How a trail camera actually sees
Most cameras use a passive infrared sensor: it notices the contrast between a warm body and a cool background, together with the movement that comes with it. When something crosses the detection cone, the camera wakes, takes a photo or a short clip, then returns to standby for a set interval before it can trigger again.
Two specifications matter more than the megapixel figure printed on the box. Trigger speed is how quickly the camera fires once it detects something; recovery time is the pause before it can shoot again. A slow trigger on a fast animal leaves you with an empty frame and a blurred tail. After dark the camera switches to infrared, the images turn black and white, and the effective range shortens — more so in rain, fog or when the lens is smeared.
The sensor is not a motion detector in the ordinary sense, and it is not a pair of eyes. It is looking for a moving patch of warmth against a cooler scene, which is why a badger coming straight toward the camera may be detected later than one crossing sideways. It also explains some of the junk on the card: a sun-warmed branch swaying in the wind, a patch of grass heating up after a cloud passes, or a sudden shift in shade can all look enough like a trigger to wake the camera. A passing car's headlights, a nearby security light or the camera itself heating in direct sun can do the same. None of this means the camera is broken. It means the sensor is doing exactly what it was designed to do in a place that is not a controlled studio.
Night range is the other specification worth reading closely. Infrared light falls off quickly, so a camera that claims thirty metres may give a clear face at ten and a vague grey shape at twenty. Rain, mist and dust all scatter the light back toward the lens, which is why wet nights often produce soft, washed-out images. Keeping the lens clean and the camera out of the worst of the weather does more for night footage than another million pixels.
Placement: the difference between a diary and a blank card
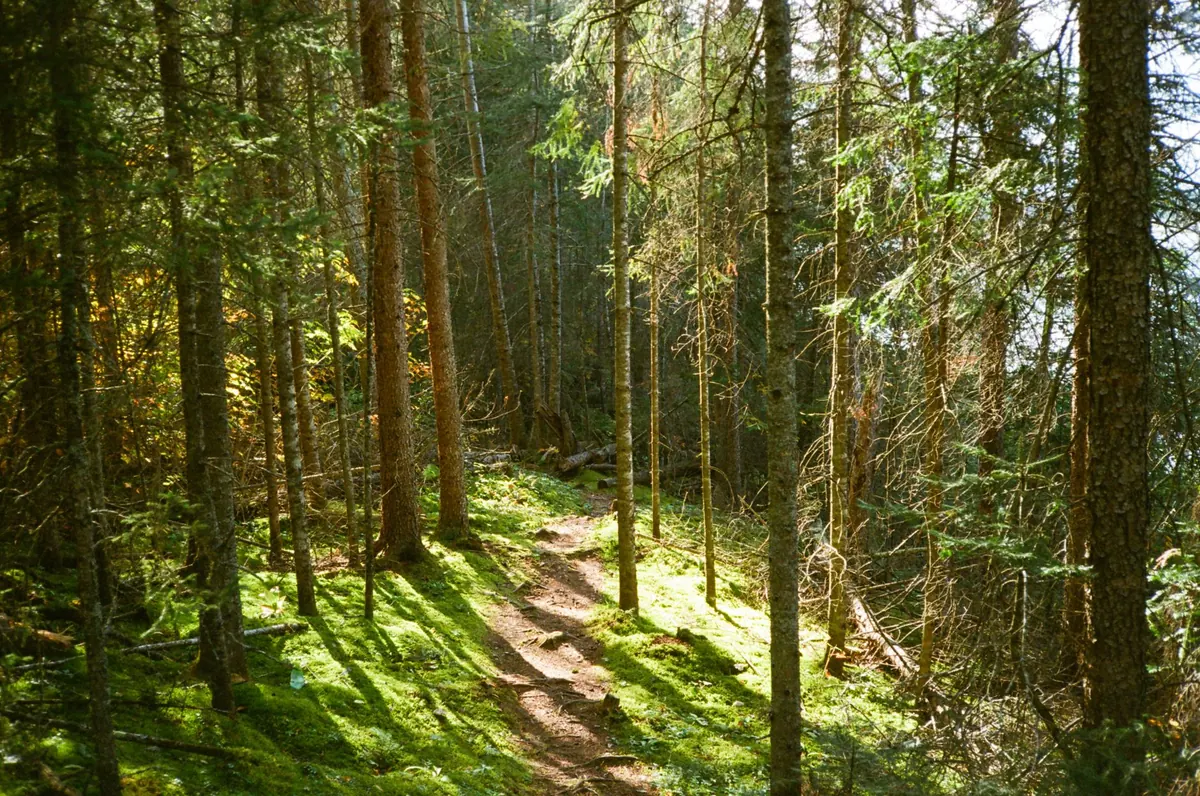
The best camera position is rarely the most convenient one. You want a place where animals already have a reason to pause or pass: a narrow gap in a hedge, a worn line through the grass, the edge where woodland meets a lawn, a fence line with a gap under it, or a quiet corner near water. Tracks, droppings, nibbled shoots and flattened vegetation are better clues than guesswork. If you can see a clear runway, set the camera slightly to one side of it rather than staring straight down it, so animals are recorded in profile as they cross.
- Game trails and hedge gaps: natural bottlenecks give the camera more time to trigger.
- Woodland edges: foxes, deer and badgers often follow the cover line rather than open ground.
- Water and muddy patches: footprints and regular visits make these reliable watch points.
- Fence lines and gateways: animals use the easiest route, and a gap is often it.
- Fallen logs and brush piles: small mammals, birds and reptiles use them for cover and lookout posts.
Height matters as much as direction. For deer, a camera about chest height — roughly ninety centimetres to a metre — gives a natural view and a good chance of catching the whole animal. For badgers, foxes and smaller mammals, lower is better; many people mount too high and end up with a clean view of empty air above an animal's back. A slight downward tilt helps, but too much tilt turns the foreground into a blur of grass and shortens the useful detection distance.
Keep the lens out of the sunrise and sunset. Pointing east or west across open ground invites flare, false triggers and images that are half white. Clear grass, nettles and brambles from the immediate foreground, and trim a little behind the camera if a branch will wave across the sensor in wind. A camera strapped to a slender tree will also move in gusty weather; choose something solid, or brace the mount. Finally, check whose land you are on and who might walk past. A backyard camera is one thing; a camera overlooking a neighbour's path or a public right of way is another.
Place the camera where the animal is already going, not where you would like it to go. The woods are full of paths; you are just borrowing one.
Settings and a simple field routine
Most trail cameras arrive with sensible defaults, but a few settings are worth changing before you walk away. Set the date and time first — a card full of anonymous night shots is much less useful than one with accurate timestamps. Choose photo or video deliberately: photos are quicker to review and use less power, while short videos reveal behaviour and are better for identifying a animal that pauses at the edge of frame. A burst of two or three photos is often a good compromise.
- Trigger interval: a short pause records more of a passing animal; a long one saves card space and battery.
- Sensitivity: high settings catch more small animals but also more false triggers in wind and sun.
- Video length: ten to twenty seconds is usually enough to identify a visitor without filling the card.
- Resolution: a moderate setting is often sharper at night than the highest megapixel mode.
- Infrared: leave it automatic unless you are testing a specific spot at night.
Use a card that is large enough for a week and a set of batteries you trust. Format the card in the camera rather than on a computer, and check that the camera is actually armed before you close it. It is surprisingly easy to walk away with the switch in setup mode, the lens cap on or the SD card still in your pocket. A short test walk in front of the lens, then a look at the first frame, saves a wasted week.
A first-week routine
- Scout for tracks, runs, droppings or nibbled plants before choosing a tree.
- Mount the camera at the right height for your likely visitor, with a slight downward tilt.
- Clear grass and branches from the foreground and from the sensor's path.
- Set date, time, burst and interval, then format the card and arm the camera.
- Walk past the lens to confirm it triggers and the framing is right.
- Leave it alone for several days; moving it too often records your own visits instead of wildlife.
- Review the card at the same time of day, noting timestamps and repeated routes.
When you read the first card, look for patterns rather than single surprises. A fox at 2:14 a.m. is a good photograph; a fox at roughly the same time on three wet nights is a route. A deer crossing at dusk and again at dawn may be using the same gap in the hedge. Repeated empty frames in windy weather tell you the sensitivity is too high or the foreground needs clearing. Repeated half-animals at the edge of frame tell you to shift the camera a little further back or change the angle. The camera is not just collecting pictures; it is showing you where the paths are.
After a week or two, the backyard stops looking like a blank strip behind the house. It becomes a place with shift changes: the blackbird early, the squirrel mid-morning, the fox at dusk, the badger long after you have gone to bed. The equipment is simple, the setup takes an afternoon, and the reward is a quieter kind of knowledge — the sense that the woods were busy all along.
Photo: Jay R / Pexels