


How to Build a Wildlife-Friendly Brush Pile in Your Woodland
A practical guide to building a loose brush pile from prunings, logs and leaves — where to site it, what to include, and how to leave it alone so birds, insects and small...
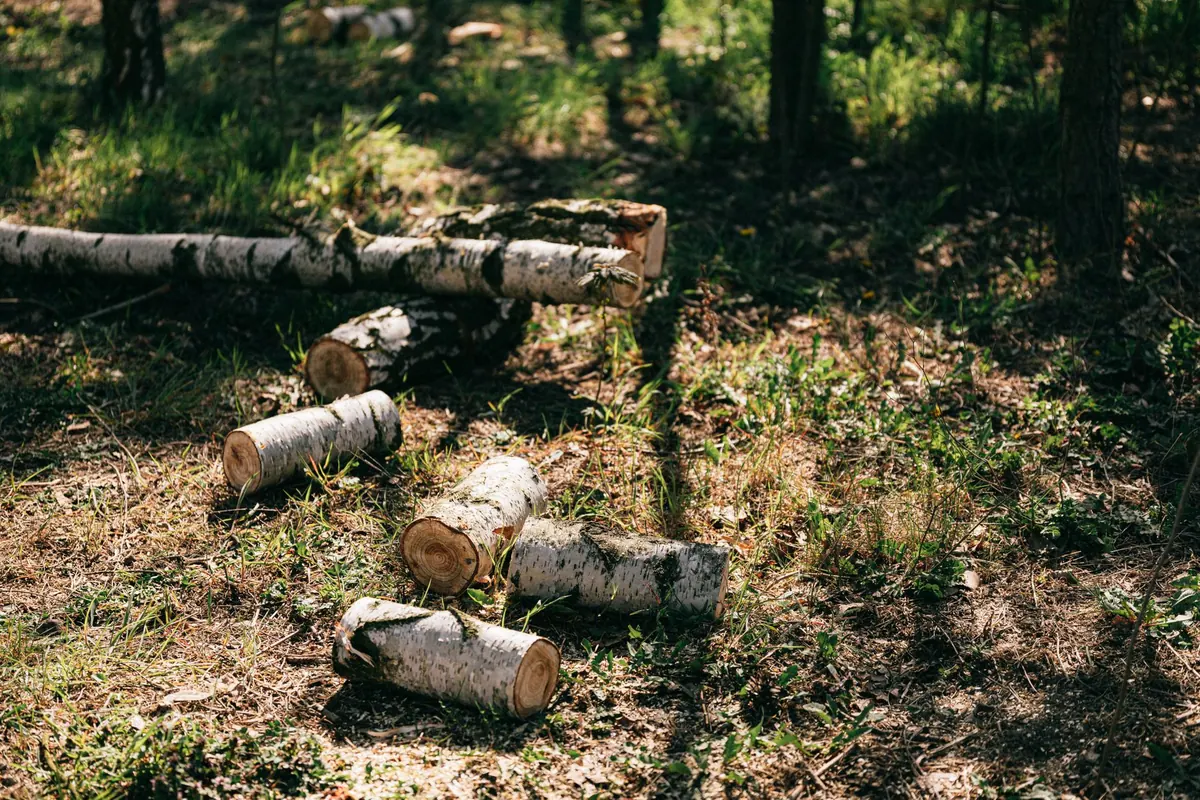
A brush pile is the least glamorous thing you can build in a wood. No timber to buy, no plans to follow, no fixings. You stack what the trees have already given you — twigs, brash, a few tired logs — and then you walk away. Within a season it will be busy: beetles working the damp underside, a wren slipping through the gaps, a toad settled into the leaf litter at the base. The whole thing depends on how you pile it, and where.
Why a Loose Heap Works Better Than a Neat One
What you are building is not really a pile. It is a collection of small spaces. Every gap between two crossed stems is somewhere to hide, shelter, hunt or overwinter, and those gaps are the entire point. Compost a heap of grass clippings and you get a slimy mat; stack an armful of hazel prunings and you get architecture.
As the wood inside breaks down, it feeds a chain of life that starts with fungi and wood-boring beetles and ends with the birds that eat them. The centre of a working pile stays noticeably warmer than the air outside, which is why small mammals and amphibians head for it when the frosts arrive. Above ground, dense twiggy cover gives birds somewhere to retreat from a sparrowhawk and shelter from wind and rain. Robins, dunnocks and wrens will use it year-round; wrens in particular will cram into tight cavities together when the weather turns.
And it costs nothing. That matters. A pile can be rebuilt, extended or abandoned without regret.
Choose the Spot Before You Collect a Single Branch
Most disappointing piles fail on location. Tucked into the middle of a mown clearing, far from any other cover, a pile sits unused — animals reach it only by crossing open ground, which is the one thing they will not do. Put it at the edge of a wood, along a hedgerow, or beside an existing thicket, and it becomes an extension of habitat that already works.
Look for ground that drains. A pile sitting in standing water will rot into a sour, airless mass rather than a warm one, so avoid hollows and ditch bottoms. A gentle slope or a slight rise is ideal. Beyond that:
- Face the long side toward the sun — south or southwest — so the pile warms early and stays warm.
- Leave a clear gap between the pile and any building, fence line, shed or fuel store. Dry brash burns readily, and this is worth thinking about in a dry spring.
- Keep it back from footpaths and boundaries, partly so it is not disturbed and partly out of courtesy to neighbours who may not share your enthusiasm for rats.
- Put at least one within sight of a window, bench or gate. Half the pleasure is watching what turns up.
What Goes In, and What Stays Out
Almost everything a tree sheds is useful. The best material is mixed: thick and thin, soft and hard, wet and dry. Variety creates more kinds of gap.
- Good: dead twigs and thin branch prunings, bark, hedge trimmings, spent perennial stems, leaf litter, small logs, a few old bricks or broken tiles, and a handful of wood chips pressed into the base.
- Good in moderation: soft green material, which heats the pile as it composts but mats down if used in bulk.
- Avoid: thick layers of grass clippings, treated or painted timber, plastics, and any material from diseased trees that you would not want to spread elsewhere.
- Check first: cuttings from vigorous invasive plants. Some, including Japanese knotweed, are subject to legal controls in many countries, and root fragments can spread a problem rather than solve it. Leave those out.
One rule of thumb: do not strip deadwood from elsewhere in the wood to build your pile. Fallen branches on the woodland floor are already habitat. Use what your own pruning and clearing has produced, and leave the rest where it lies.
Building It, Layer by Layer
Work in the cooler months if you can — late autumn and winter are ideal, because you will not disturb anything nesting. The structure itself takes an hour at most.
- Start with the bones. Lay out the thickest logs first, some flat on the ground and some propped at an angle against each other. These create the large voids that mammals and reptiles need.
- Make crevices at ground level. Tuck stones, half-bricks or broken tiles among the logs. Toads, newts and slow-worms want something solid to press against.
- Fill the middle with brash. Lay stems in different directions so they interlock rather than align. Crossing material is far more stable than a bundle all pointing the same way.
- Stand a couple of logs upright. Sink them slightly into the ground, or wedge them, so decay works from the base upward while the top stays dry.
- Cap it with finer twigs. A thatch of thin material sheds rain and keeps the interior from saturating.
- Loosen the top and leave gaps. Resist the urge to tidy the shape. A pile with holes in it is doing its job; a pile with a smooth, compacted surface is not.
- Finish with leaves and a little soil. A thin scatter of leaf litter over the crown helps it knit into the surroundings, and a light dusting of soil at the base encourages nettles and other useful growth.
A pile roughly a metre high and two metres across is a generous one, but a modest knee-high heap in a small wood will still be used. Bigger is generally better; several small ones are better than one large one, because they offer different conditions.
Two Variations Worth Trying
The log stack
Instead of brash, stack short logs and thick branches loosely, lengthwise, in a criss-cross fashion with the cut ends facing out. This suits solitary bees and beetles, takes up very little ground, and looks deliberate rather than untidy. Keep the bottom layer off damp ground on a couple of sacrificial bearers.
The sun trap
Build one pile in partial shade and another where it catches the morning sun. The sunny one will warm quickly and attract different insects; the shaded one stays damp and cool through summer and suits amphibians. Placing a flat stone on the sunny side of a pile gives butterflies and lizards a place to bask.
Then Leave It Alone
The hardest part, for anyone who likes tidying, is doing nothing. Do not turn the pile, do not add kitchen waste, do not burn it in autumn. Expect it to settle and shrink by a third or more as the material inside collapses — that is the process working, not a failure. Top it up every couple of years with fresh prunings, laid on the outside rather than dug in.
Avoid disturbance between late autumn and early spring, and if you must work on it during the nesting season, look before you move anything. Keep pesticide use well away, and remember that a dry pile in a hot, windy spell is a fire risk: keep it clear of buildings and check whether your local authority has rules covering brash storage or burning.
A Pile You Can Build This Afternoon
You do not need a plan, a permit or a budget — just a rake, a pair of gloves and whatever your last pruning session left on the ground. Pick a spot near existing cover on ground that drains. Put the thickest wood down first, fill the middle with crossed twigs, cap it with finer material and walk away.
Then keep an eye on it. The first signs come quietly: a wren disappearing into the side, a blackbird scratching at the base, a snail on the underside of a log you turned at the edge. Give it a year and it will look as though it has always been there, which is exactly what the wildlife around it will assume.